Lovely! Happy! Sweet for Gift is the name of this book and from the name you can imagine that most of the sweet in this book is great for giving ^^.
Actually I fall in love with the look of the book (well, I order it from Amazon, without seeing the inside of the book, but the cover says it all for me), and the author is famous for her books and her baking class.

Anyway, for me this is the first one of her book that I bought, and I have to say that it's very beautiful!!!!! You know that I love beautiful books ^^.
The book divided into 5 chapter, start with 1. A Gift for Thanks, 2.A Gift of Hello, 3.A Gift of Congratulations, 4.A Gift of Merry Christmas and the last one A Gift of Love. Plus the last chapter, how to make the base for all the sweet and the Q&A.

All of the chapter have the many kinds of sweet, cakes, roll cakes, cheese cake, marshmallow, scone, jam cookies, pies, jelly, quiche, choux, and chocolate. I love the decoration, they are so cute and the packaging idea is good too.

In each kind of sweet, there will be a instruction for making the decorating item, like this one is how to make the iced flower.

You can see that the photos are great too, only looking at all these lovely photos makes me happy ^^. She show us how to turn some simple sweet into something special, like the cut out cookie that turn out to be super cute cookie!
The decoration for the Christmas chapter is great too, very seasonal, and giving some of these sweet will surly make the recipient smile.

The last chapters, A Gift of Love, most of the sweets are chocolate, with lovely decoration, and a lot of "Love", you can give them to anyone you love, not only your boyfriend or girlfriend ^^. They are cute enough to show anyone who received them, that you really care for them.

The last parts of the book are the photo instruction for making all kind of base (because most of the basic is the same), like how to make genoise sponge, puff pastry , butter cake and how to tempering the chocolate.
For the Q&A section, the questions come from the pupils in her class or from the e-mail. Like how to prepare the sweet if you don't have enough time, ingredient and equipment guide.
I really recommend this book if you love to decorate your sweet, love to make a lovely packaging and most of all love to give your sweet as a gift!, this one is made for you.


So, you can make this lovely cake in any occasion, as a gift for someone you love or as a gift for yourself, and your heart will feel great to have a delicious and cute cupcake as an afternoon treat, who say you can't give a gift for yourself, haha.

Strawberry and Mascarpone Cupcake
Make 7 (7cm cupcake)

50g .................................. Butter
80g .................................. Sugar
1 ....................................... Egg
.......................................... A pinch of salt
60ml ................................ Half and half
100g ................................ Cake flour
1tsp .................................. Baking powder
½tsp ................................ Vanilla bean paste
4 ....................................... Strawberry, cut in half
Mascapone frosting
200ml ............................. Whipping cream
35g .................................. Sugar
50g .................................. Mascarpone cheese
1tbsp ............................... Lemon juice
Preheat the oven to 170 °C
Place the baking paper in to the cupcake tins.
Sift the flour and baking powder together.

Beat the butter, salt and sugar until light and fluffy, add the vanilla bean paste and beat to combine.
Put the egg in to the batter and beat until combine.

Divide the flour mixture into 3, put 1/3 of the flour mixture into the batter, stir with a spatula, when combine, add half of the half and half, follow with 1/3 of the flour, stir again then add the rest of the half and half. Finish with the rest of the flour, mix to combine.

Scoop the batter into the tins, add the strawberry half in the center.
Bake for 20 minutes, or until the cake is spring when touch lightly.
Let the cake cool completely before frosting it.

Beat all the ingredient together and put the frosting into a piping bag.
Frost the cake with the frosting and decorate as you wish, ^ ^.

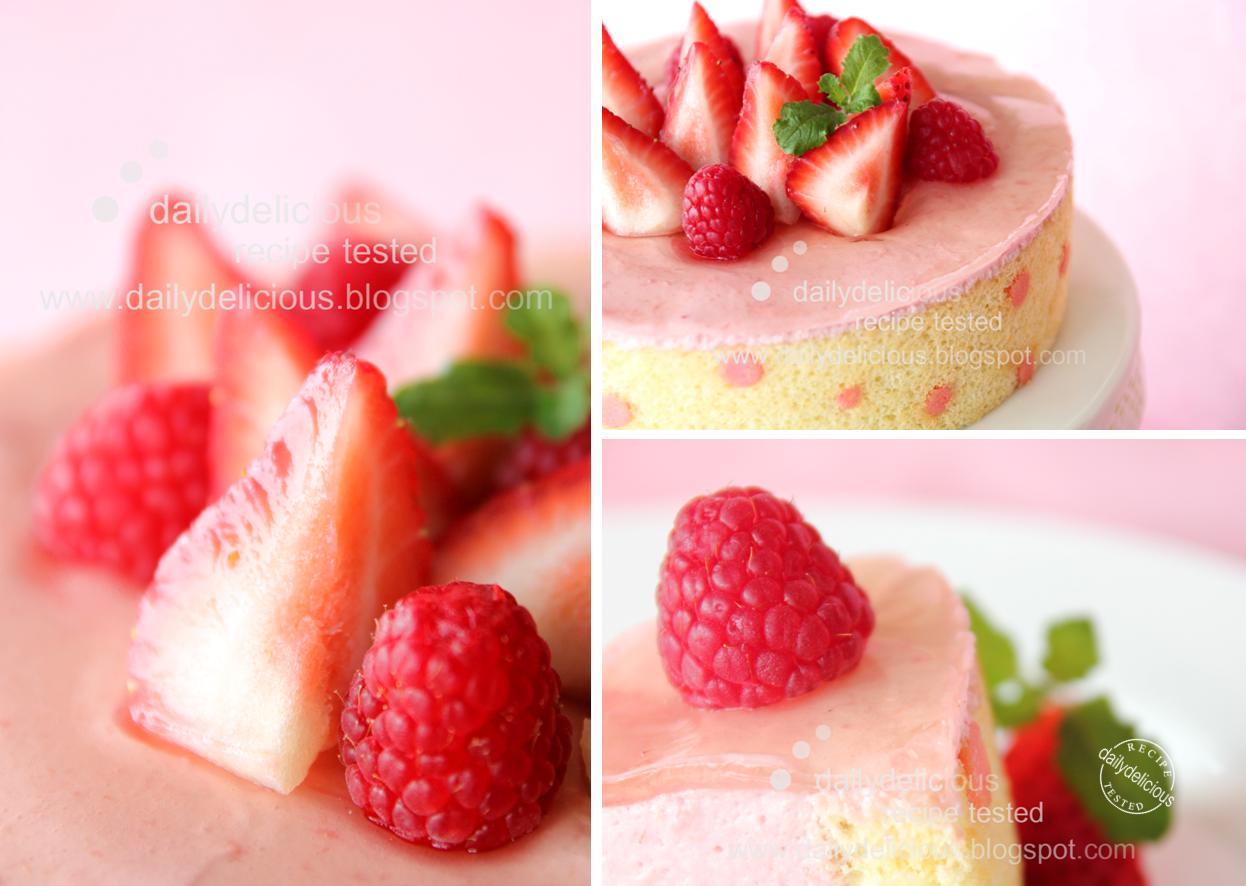
Strawberry and Mascarpone Cupcake:
cute little cake with a review of the book, ラブリー!ハッピー!贈るお菓子